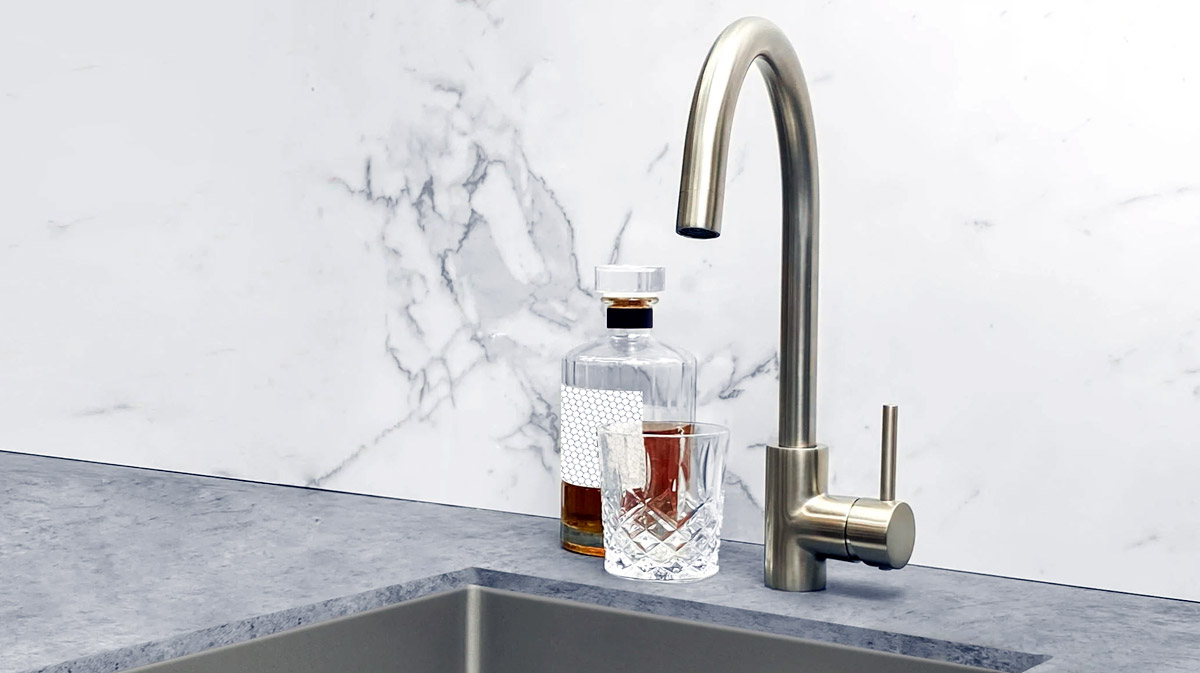
Are you tired of your old kitchen mixer tap and ready for an upgrade? Changing a kitchen mixer tap may seem like a daunting task, but with the right knowledge and skills, it can be a straightforward DIY project. In this comprehensive guide, we will walk you through the process of changing a kitchen mixer tap, providing you with the necessary information and step-by-step instructions to ensure a successful installation. From understanding the importance of proper tools and safety precautions to dismantling the old tap and installing the new one, we’ve got you covered. So, roll up your sleeves and prepare to transform your kitchen with a fresh new look and improved functionality!
What is a kitchen mixer tap and why might you need to change it?
A kitchen mixer tap is a versatile and essential fixture in any modern kitchen. It combines both hot and cold water streams into a single stream, allowing users to easily adjust and control the temperature and flow rate. This convenient feature makes it a popular choice for households and commercial kitchens alike.
Understanding the different components and their functions is crucial for anyone planning to change their kitchen mixer tap. The key components include:
- Spout: The spout is the part of the tap that dispenses water. It can come in various lengths and shapes, depending on personal preference and kitchen needs.
- Handles: The handles, typically located on either side of the spout, are used to control the flow and temperature of the water. Most kitchen mixer taps have dual handles, with one dedicated to hot water and the other for cold water.
- Mixing Valve: The mixing valve is responsible for combining the hot and cold water streams to achieve the desired temperature. It is important to choose a mixer tap with a high-quality mixing valve to ensure accurate temperature control.
- Aerator: The aerator is a small device located at the end of the spout. It helps to regulate the flow of water and reduce splashing, while also conserving water by mixing it with air.
You may need to change your kitchen mixer tap because it has started leaking or because you want a new design.
When selecting a new kitchen mixer tap, it is essential to consider your specific kitchen needs. Factors such as sink size, water pressure, and overall design aesthetic should be taken into account. For example, a larger sink may require a longer spout, while a kitchen with low water pressure may benefit from a tap designed to increase water flow.
Tools and Equipment Required
- Adjustable wrench: Used to loosen and tighten nuts and bolts.
- Basin wrench: Specifically designed to reach and adjust nuts in tight spaces.
- Plumber’s tape: A thin tape used to create watertight seals on threaded connections.
- Screwdriver: Helps to remove screws and other fasteners.
- Hacksaw: May be required to cut through pipes or corroded fittings.
Each tool has its specific use during the process of changing a kitchen mixer tap. The adjustable wrench is essential for loosening and tightening nuts and bolts, while the basin wrench comes in handy for reaching and adjusting nuts in tight spaces. Plumber’s tape ensures a watertight seal on threaded connections, preventing any leakage. The screwdriver is used to remove screws and other fasteners that hold the tap in place. In some cases, a hacksaw might be necessary to cut through pipes or corroded fittings that cannot be removed easily.
Safety Precautions
When it comes to changing a kitchen mixer tap, safety should always be your number one priority. By following the necessary safety precautions, you can ensure a smooth and accident-free installation process.
Importance of following safety precautions when changing a kitchen mixer tap
Changing a kitchen mixer tap involves working with both water and tools, which can pose potential hazards if not handled correctly. By following safety precautions, you can protect yourself and your property from accidents, injuries, leaks, and water damage.
Specific safety measures
Here are some specific safety measures you should take when changing a kitchen mixer tap:
- Turn off the water supply valves: Before starting any work, always turn off the water supply valves connected to the kitchen mixer tap. This will prevent any accidental water flow and potential flooding.
- Use caution while handling sharp tools: Some kitchen mixer tap installations may require the use of sharp tools, such as wrenches and pliers. Be sure to handle them carefully, wearing appropriate gloves if necessary, to avoid injury.
- Ensure proper sealing to prevent leaks and water damage: When installing a new kitchen mixer tap, it is crucial to ensure proper sealing between the tap and the sink surface. This will prevent any leaks or water damage in the future. Use a high-quality sealing material and follow manufacturer instructions for optimal results.
By keeping these safety precautions in mind, you can confidently proceed with changing your kitchen mixer tap, knowing that you have taken the necessary steps to ensure a safe and successful installation.
Water Supply Connections
When replacing a kitchen mixer tap, it is important to understand and properly handle the water supply connections. There are different types of connections that you may encounter, such as compression fittings or flex hoses. In this section, we will explain each type and guide you through the process of disconnecting and reconnecting the water supply lines.
Types of Water Supply Connections
Compression fittings: These types of connections require a compression nut and a ferrule. To disconnect, simply unscrew the compression nut using an adjustable wrench. To reconnect, slide the compression nut and ferrule onto the pipe, insert the pipe into the fitting, and tighten the compression nut.
Flex hoses: Flex hoses provide a more flexible option for connecting the tap to the water supply lines. To disconnect, turn off the water supply valves, unscrew the nuts connecting the flex hoses to the tap, and remove the hoses. To reconnect, attach the flex hoses to the new tap and tighten the nuts securely.
Steps to Disconnect and Reconnect Water Supply Lines
- Start by turning off the main water supply to avoid any potential leaks.
- If you have compression fittings, place a bucket under the connections to catch any water that may leak out.
- Using an adjustable wrench, loosen the compression nut by turning it counterclockwise.
- Carefully pull the pipe out of the fitting.
- To reconnect, slide the compression nut and ferrule onto the pipe, insert the pipe into the fitting, and tighten the compression nut using the wrench.
- If you have flex hoses, turn off the water supply valves located under the sink.
- Unscrew the nuts that connect the flex hoses to the old tap and remove the hoses.
- Attach the flex hoses to the new tap and tighten the nuts securely.
Tips to Avoid Common Mistakes or Leaks
- Always use a bucket or towel to catch any water that may leak during the disconnection process.
- Inspect the compression nuts and ferrules for any signs of wear or damage before reconnecting.
- Ensure that the connections are tightened securely to prevent leaks.
- Turn on the water supply slowly after reconnecting to check for any leaks. If you notice any leaks, tighten the connections further or replace any faulty components.
By following these steps and tips, you can successfully disconnect and reconnect the water supply lines when changing a kitchen mixer tap.
Step-by-step instructions on how to change a kitchen mixer tap
- Turn off the water supply: Locate the shut-off valve and close it to stop the flow of water.
- Prepare the workspace: Clear the area around the sink and place a towel or cloth to catch any water spills.
- Disconnect the water supply lines: Use an adjustable wrench to loosen and disconnect the flexible hoses connected to the old tap. Be cautious of any residual water.
- Remove the old tap: Unscrew the mounting nut that holds the tap in place using a wrench or pliers. Carefully lift the old tap off the sink.
- Clean the sink surface: Remove any residue or debris left behind by the old tap. Ensure a clean and smooth surface for the new tap installation.
- Install the new tap: Place the new tap onto the sink and align it with the mounting holes. Use the provided fastening hardware to secure the tap in place. If you have any issues installing the new tap, check out our article on what to do if your tap leaks after reseating for further steps.
- Connect the water supply lines: Attach the flexible hoses to the corresponding hot and cold water supply valves. Tighten the connections with an adjustable wrench.
- Turn on the water supply: Open the shut-off valve to allow water flow to the new tap. Check for any leaks and make necessary adjustments.
- Test the new tap: Turn on the tap and check for proper water flow and functionality. Adjust the handles or knobs if needed.
Pro Tip: Dylan, a licensed plumber from True Flow Plumbing, who specialises in fixing tap leaks, provides the following hints and tips for whenever you are looking to replace a kitchen mixer tap: “Before you dive into replacing your kitchen mixer tap, always remember to turn off both the hot and cold water supply lines. This simple step can save you from a watery mess and potential damage. Also, don’t skimp on quality—invest in a tap with a durable mixing valve for long-lasting, accurate temperature control. Your kitchen is the heart of your home; make sure its plumbing beats strong!”


