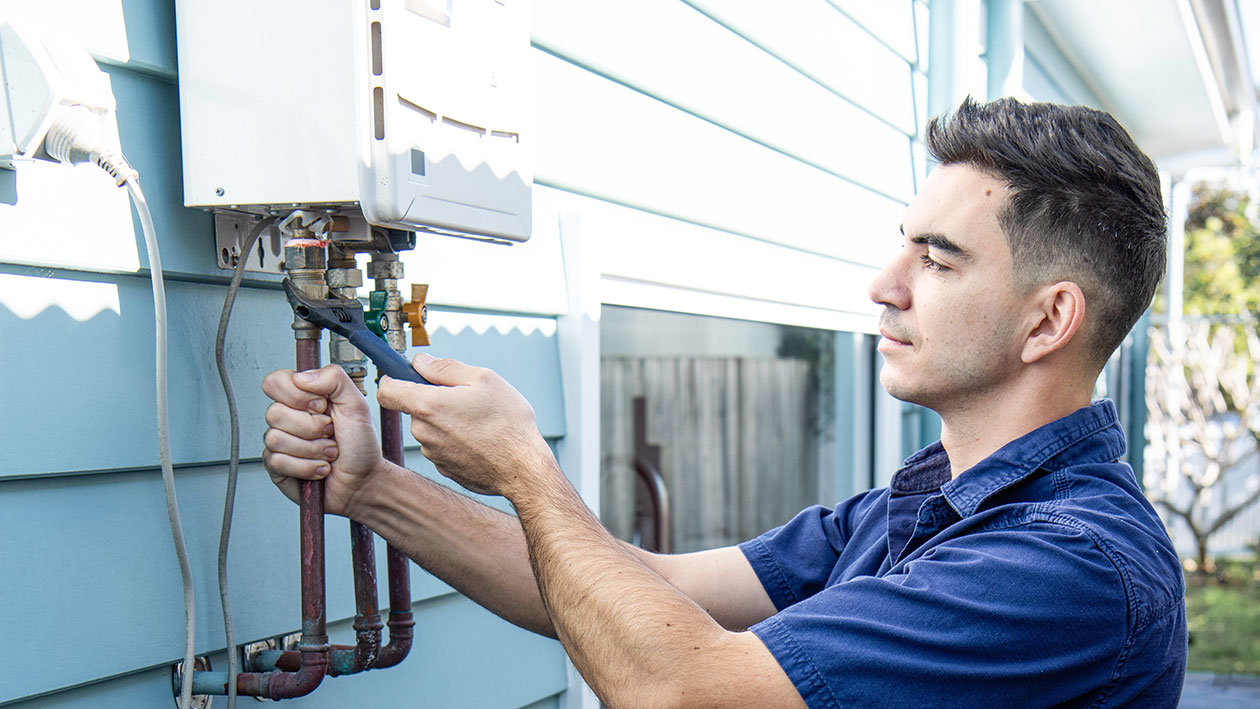
A reliable hot water system is essential for modern living. This comprehensive guide breaks down the process step-by-step, covering various types of hot water systems, from electric and gas to solar and tankless. We’ll equip you with the knowledge and confidence to tackle this project safely and effectively. While this guide provides detailed instructions, remember that local regulations and specific model requirements vary.
Types of Hot Water Systems
Choosing the right system is crucial. Each type has advantages and disadvantages. Consider your household needs and budget.
Electric Hot Water Systems
Electric systems are common. They are generally less expensive to purchase. However, they can be more costly to run than gas. Electric systems are relatively easy to install.
Gas Hot Water Systems
Gas systems heat water quickly. They are generally more efficient than electric models. However, they require a gas connection. Installation is more complex than electric.
Solar Hot Water Systems
Solar systems use the sun’s energy, which makes them environmentally friendly and cost-effective in the long run. However, they have a high initial cost, and installation usually requires specialist expertise.
Tankless Hot Water Systems
Tankless systems heat water on demand. They offer continuous hot water and save space. However, they can require high power, and installation complexity varies depending on the model.
Tools and Materials
Gather the necessary tools and materials before beginning. Having everything ready will streamline the process. Specific requirements may vary depending on the hot water system type.
General Tools
- Pipe wrenches (various sizes)
- Adjustable spanner
- Screwdrivers (Phillips and flathead)
- Teflon tape
- Level
- Drill
- Safety glasses
- Work gloves
Materials (may vary):
- New hot water system
- Pipe fittings (appropriate for your system)
- Valves (isolation and pressure relief)
- Electrical wiring (for electric systems)
- Gas piping (for gas systems)
- Mounting hardware
Safety Precautions
Safety is paramount when installing a hot water system. Take these precautions to prevent accidents and ensure a safe installation.
- Turn off power/gas: Before starting any work, disconnect the power supply at the circuit breaker and turn off the gas supply at the meter for gas systems.
- Turn off water supply: Turn off the main water supply to your house. This prevents flooding during the removal of the old system.
- Drain the old system: Connect a hose to the drain valve at the bottom of the tank. Run the hose outside to a safe drainage point. Open the valve and allow the tank to drain completely. This can take some time. Be patient.
- Check for gas leaks (gas systems only): After disconnecting the gas line, use soapy water to check for leaks at the connection points. Bubbles indicate a leak. Contact a qualified gas fitter if you detect a leak. Never attempt to repair a gas leak yourself.
- Handle hot pipes with care: Pipes can remain hot even after the water and power are off. Use gloves to protect your hands.
- Proper ventilation: Ensure adequate ventilation, especially when working with gas systems. Open windows and doors to allow fresh air to circulate. Carbon monoxide poisoning is a danger.
- Consult a plumber: If unsure about any step in the process, consult a qualified hot water plumber or electrician. Safety should always be your top priority.
Step-by-Step Installation
This section provides a general overview of the installation process. Specific steps will vary depending on the type of hot water system. Consult the manufacturer’s instructions for detailed guidance. Always prioritise safety.
- Prepare the area: Clear the area around the existing hot water system. Remove any obstacles that might hinder the installation process. Ensure sufficient space for the new unit and comfortable working conditions. Consider using a drop sheet to protect the flooring.
- Disconnect the old system: Adhere to the safety precautions outlined earlier. Turn off the water supply at the main valve. Turn off the power at the circuit breaker for electric systems. Turn off the gas supply at the meter for gas systems. Disconnect the water, power, and gas connections to the old unit. Use appropriate tools like pipe wrenches and screwdrivers. Carefully remove the old unit, taking care not to damage surrounding pipes or fittings.
- Mount the new unit: Position the new hot water system according to the manufacturer’s instructions. Use appropriate mounting brackets and hardware. Ensure the unit is perfectly level and securely fastened to the wall or floor. Check local regulations for specific mounting requirements.
- Connect the water lines: Connect the cold water inlet pipe to the designated inlet on the new unit, and connect the hot water outlet pipe to the designated outlet. Use new pipe fittings appropriate for your system type (e.g., copper, PEX). Apply Teflon tape to all threaded connections to create a watertight seal. Tighten the connections securely with a pipe wrench, but avoid overtightening.
- Connect the power/gas: Connect the electrical wiring to the designated terminals for electric systems, ensuring correct polarity. Connect the gas line using appropriate fittings and flexible tubing for gas systems. Check for gas leaks using soapy water applied to the connections. Look for bubbles that indicate a leak. If a leak is detected, immediately turn off the gas supply and contact a qualified gas fitter. Do not attempt to repair a gas leak yourself. Ensure adequate ventilation throughout the process.
- Test the system: Slowly turn the water supply back on after completing all connections. Allow the tank to fill. Turn the power or gas back on. Check for leaks around all connections and fittings. Open a hot water tap closest to the hot water system and let the water run until it flows smoothly and heats up. Check the thermostat on the unit to ensure the water is heating to the desired temperature. Adjust the thermostat as needed.
- Final checks: Carefully inspect the entire installation for any signs of leaks or other issues. Ensure all connections are tight and secure. Locate and test the pressure relief valve according to the manufacturer’s instructions. This valve is essential for safety. Consult a professional if you are unsure about any aspect of the installation.
Troubleshooting
Issues can occur after installation. This section covers some common problems and solutions. If you cannot resolve the issue, contact a qualified plumber.
- No hot water: Check the power supply (for electric systems) and gas supply (for gas systems). Ensure the thermostat is set correctly. Check for tripped circuit breakers or blown fuses. Inspect the heating element (for electric systems) or burner (for gas systems).
- Low water pressure: Check the water supply to the house. Check for closed valves or kinks in the water lines. Inspect the inlet filter for blockage.
- Leaking water: Check all connections for leaks, tighten any loose fittings, replace any damaged pipes or fittings, and check the pressure relief valve for proper operation.
- Strange noises: Unusual noises can indicate various problems. Sediment buildup in the tank is a common cause. A faulty pressure relief valve or a malfunctioning pump can also create noise. Contact a professional for diagnosis and repair.
- Water not hot enough: Check the thermostat setting. Increase the temperature if needed. For tankless systems, ensure the flow rate is appropriate. Check the heating element (for electric systems) or burner (for gas systems) for proper operation.
Frequently Asked Questions
Can you install a hot water system yourself in Australia?
While installing a hot water system yourself in Australia is technically possible, it is generally not recommended and may not be legal in many cases. In Australia, there are strict regulations governing the installation of hot water systems:
- Most states require a licensed plumber to install hot water systems.
- Within Sydney, you may need to get council approval before you can install a new water heater.
- A licensed electrician must perform electrical connections.
- A licensed gas fitter must make gas connections.
The installation must comply with local building codes and regulations, including the National Construction Code and Plumbing Code of Australia.


