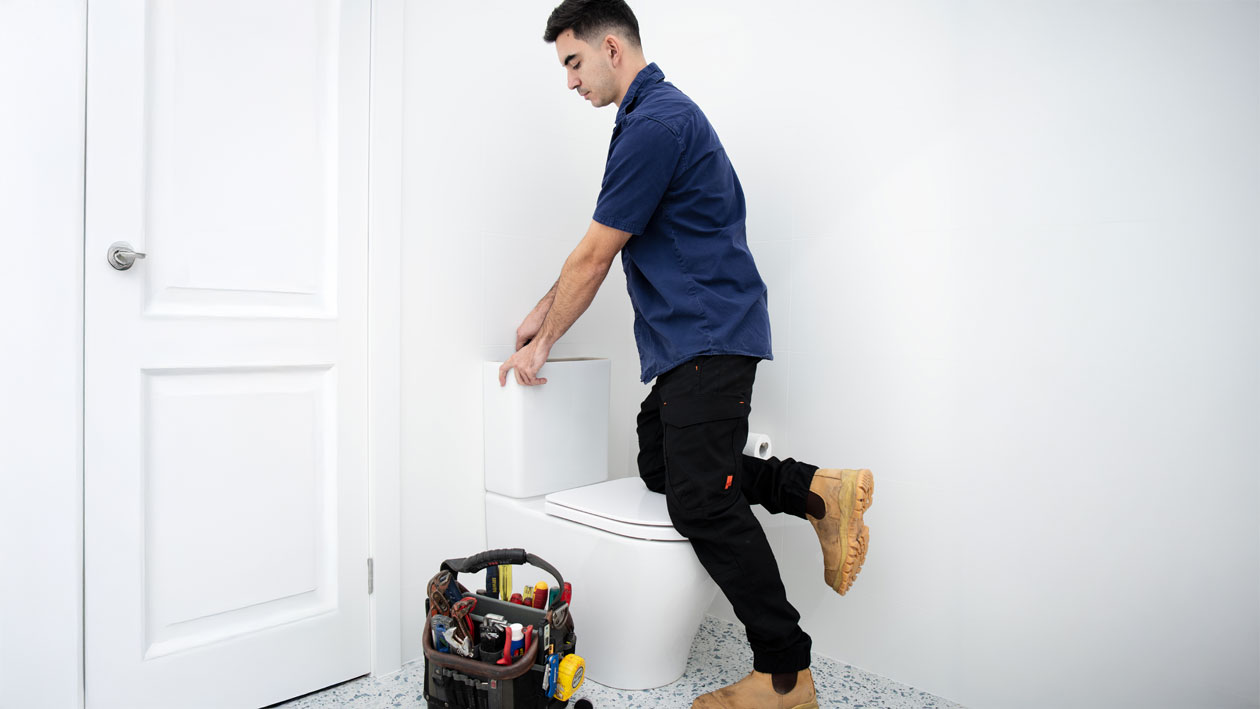
A slow-filling toilet tank is one of those household problems that starts as a minor annoyance but quickly becomes a daily frustration. Whether you’re waiting ages between flushes or dealing with weak flush performance, this issue affects most Australian homes at some point. The good news? In most cases, you can diagnose and fix the problem yourself in under 30 minutes with basic tools you already have.
The three most common culprits are a partially closed water supply valve, a clogged fill valve (that’s the tall mechanism that refills your tank), or a waterlogged float. This guide will help you identify exactly what’s causing your slow fill and walk you through fixing it step-by-step.
How to Find the Cause of Your Slow-Filling Toilet: A 5-Minute Checklist
Before diving into repairs, let’s pinpoint the exact problem. Start by flushing your toilet and listening carefully. Does the water entering the tank sound weak or restricted? This simple observation often points directly to a water flow issue.
Step 1: Check the Water Supply Valve
How to Check: Look behind or beside your toilet for the water supply valve (it’s usually a tap on the wall). Turn it fully anticlockwise to ensure it’s completely open. Many slow-fill problems are simply caused by this valve being partially closed.
Result: If your tank immediately starts filling faster, you’ve found and fixed the problem. If not, proceed to Step 2.
Action Plan: Always keep this valve fully open unless you’re doing maintenance.
Step 2: Inspect the Fill Valve for Debris
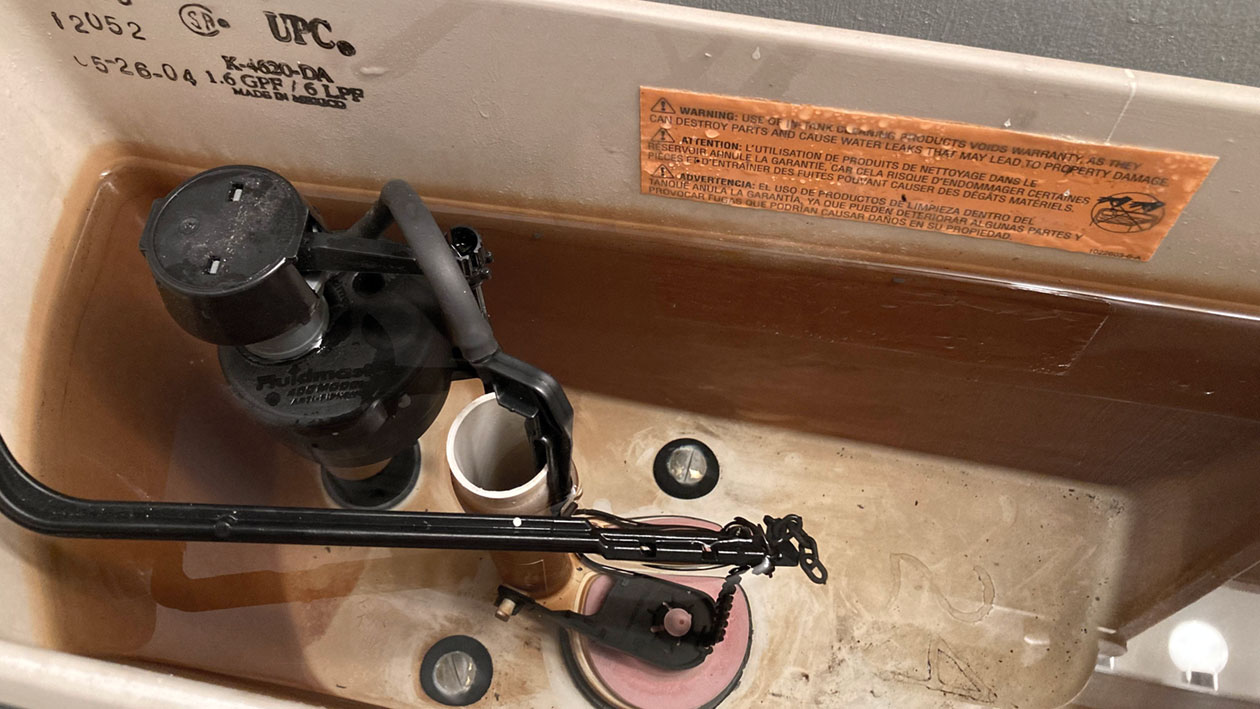
How to Check: Turn off the water supply by turning the valve clockwise. Flush the toilet to empty the tank. Look at the top of the fill valve (the tall mechanism usually on the left side of the tank). Can you see the cap? Remove it carefully and check for sediment, grit, or mineral buildup inside.
Result: Visible debris indicates a clog that’s restricting water flow.
Action Plan: Jump to the “How to Clean and Unclog Your Toilet Fill Valve” section below.
Step 3: Evaluate the Float
How to Check: Is the float (either a ball on an arm or a cup that slides up and down the fill valve) sitting properly? Push it down gently – does it move freely? If it’s a ball float, shake it – can you hear water inside?
Result: A waterlogged or stuck float won’t rise properly, affecting the fill valve’s operation.
Action Plan: See “How to Adjust or Replace Your Toilet Float” section.
How to Clean and Unclog Your Toilet Fill Valve
Cleaning your fill valve is the most common fix for slow-filling toilets. Mineral deposits and sediment from your water supply gradually build up inside the valve, restricting water flow. Here’s how to clear it out:
- Shut Off Water: Turn the water supply valve behind your toilet clockwise until it stops. Flush the toilet once to empty the tank.
- Remove the Cap: Place your hand on top of the fill valve and twist the cap (the top portion) anticlockwise. It should lift off. Some models have clips on the sides – press these in while lifting.
- Place a Cup: This is crucial – place an empty plastic cup upside down over the open valve stem. This prevents water from spraying across your bathroom.
- Flush Debris: While holding the cup firmly in place, turn the water supply back on for 10-15 seconds. Water will shoot up through the valve, flushing out any trapped debris.
- Reassemble: Turn the water off again. Check the rubber seal inside the cap for damage or buildup – clean it if needed. Replace the cap by pressing down and twisting clockwise. Turn the water supply back on.
Try This Now
- Locate your water supply valve right now
- Turn it off and flush your toilet
- Identify your fill valve and its removable cap
- Have a plastic cup ready
Common Mistakes to Avoid
Mistake: Forgetting the cup over the valve.
Solution: Never skip this step – water will spray forcefully, potentially hitting the ceiling and soaking your bathroom.
Mistake: Not turning the water completely off initially.
Solution: The tank will keep trying to fill while you work. Ensure the valve is fully closed – you shouldn’t hear any water running.
Self-Check Method: After reassembly, you should hear a noticeably stronger water flow. Most standard Australian toilets should fill completely in 60-90 seconds.
How to Adjust or Replace Your Toilet Float
If cleaning didn’t solve the problem, your float might need adjustment or replacement.
For Float Cup Valves (Most Modern Toilets)
- Locate the Adjustment: Find the adjustment screw or clip on the float cup mechanism.
- Adjust Height: Turn the screw clockwise to lower the water level (if overfilling) or anticlockwise to raise it. The water should stop about 25mm below the overflow tube.
- Test: Flush and observe. The tank should fill to the correct level and stop. You can learn more in our guide about how to fix low water levels in toilets.
For Ball Float Valves (Older Toilets)
- Check for Water: Unscrew the ball from its arm. If water pours out, replace the ball.
- Adjust the Arm: Gently bend the metal arm downward to lower water level or upward to raise it.
- Check Movement: Ensure the ball moves freely without hitting the tank sides.

How to Replace a Toilet Fill Valve
If cleaning and adjusting haven’t worked, it’s time for a replacement. This is easier than you might think.
What You’ll Need
- New fill valve (universal type works for most toilets)
- Adjustable spanner
- Bucket and towel
Installation Steps
- Turn Off and Drain: Shut off water supply. Flush toilet and hold handle down to drain completely. Sponge out remaining water.
- Remove Old Valve: Place bucket under tank. Unscrew the coupling nut underneath the tank (where the water line connects). Lift out the old valve.
- Install New Valve: Insert new valve through the hole. Hand-tighten the locknut underneath, then give it another quarter turn with your spanner.
- Adjust Height: Before connecting water, adjust the valve height so the critical level mark sits 25mm above the overflow tube.
- Connect and Test: Reattach water supply line. Turn water on slowly and check for leaks.
Are Toilet Fill Valves Universal? Choosing the Right Replacement
While toilet fill valves aren’t strictly universal, most modern designs are highly adjustable and will fit the majority of Australian toilets. The key factors are height adjustability and connection size (usually 15mm in Australia).
Quick Comparison: Fill Valve Types
Standard Float Valve
- Best for: Older toilets, budget repairs
- Adjustability: Limited
- Reliability: Can stick or leak over time
Float-Cup Valve (Modern)
- Best for: Most toilets made after 1990
- Adjustability: Highly adjustable height
- Reliability: Very reliable, quieter operation
Best Choices for Australian Homes
Best for Beginners: A universal float-cup style fill valve (like Fluidmaster 400A or similar) is easiest to install and adjust. Available at Bunnings for around $15-25.
Best for Older Toilets: If you have a vintage toilet, take a photo of your current valve setup to match at the hardware store.
Best for Dual-Flush Systems: Ensure any replacement is compatible with dual-flush mechanisms – check the packaging or ask staff.
Final Troubleshooting Tips
If you’ve tried everything and your toilet still fills slowly, consider these less common issues:
- Low water pressure: Other taps running slowly too? You might have a whole-house pressure issue
- Partially blocked supply line: The flexible hose connecting to your toilet might need replacement
- Cistern inlet valve issues: Some Australian toilets have additional valves that might need attention
Remember, if you’re not comfortable with any of these repairs or if the problem persists, there’s no shame in calling a licensed plumber. Most toilet fill issues are straightforward fixes, but water damage from a botched repair can be costly.


